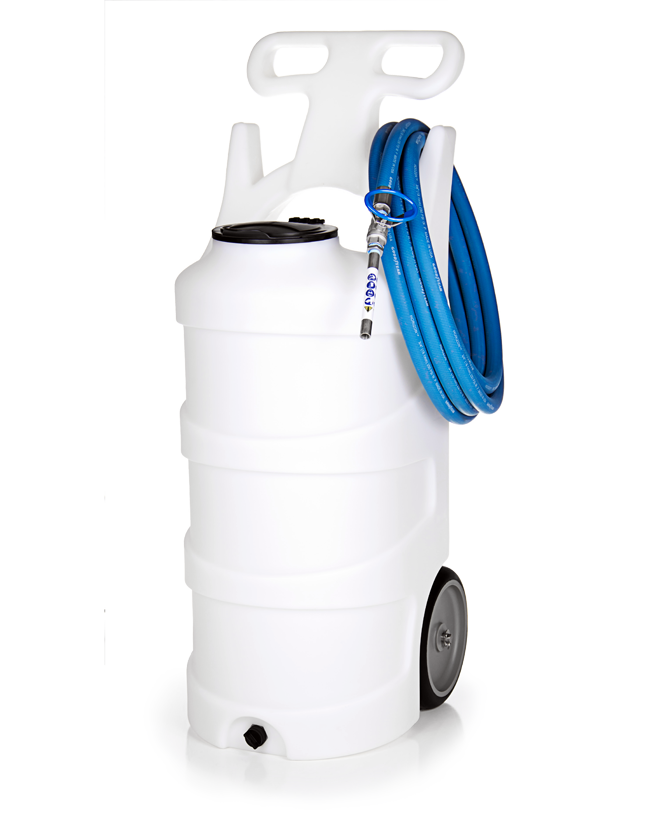
Powered by compressed air, this unit draws from pre-mixed chemical for excellent foam application.
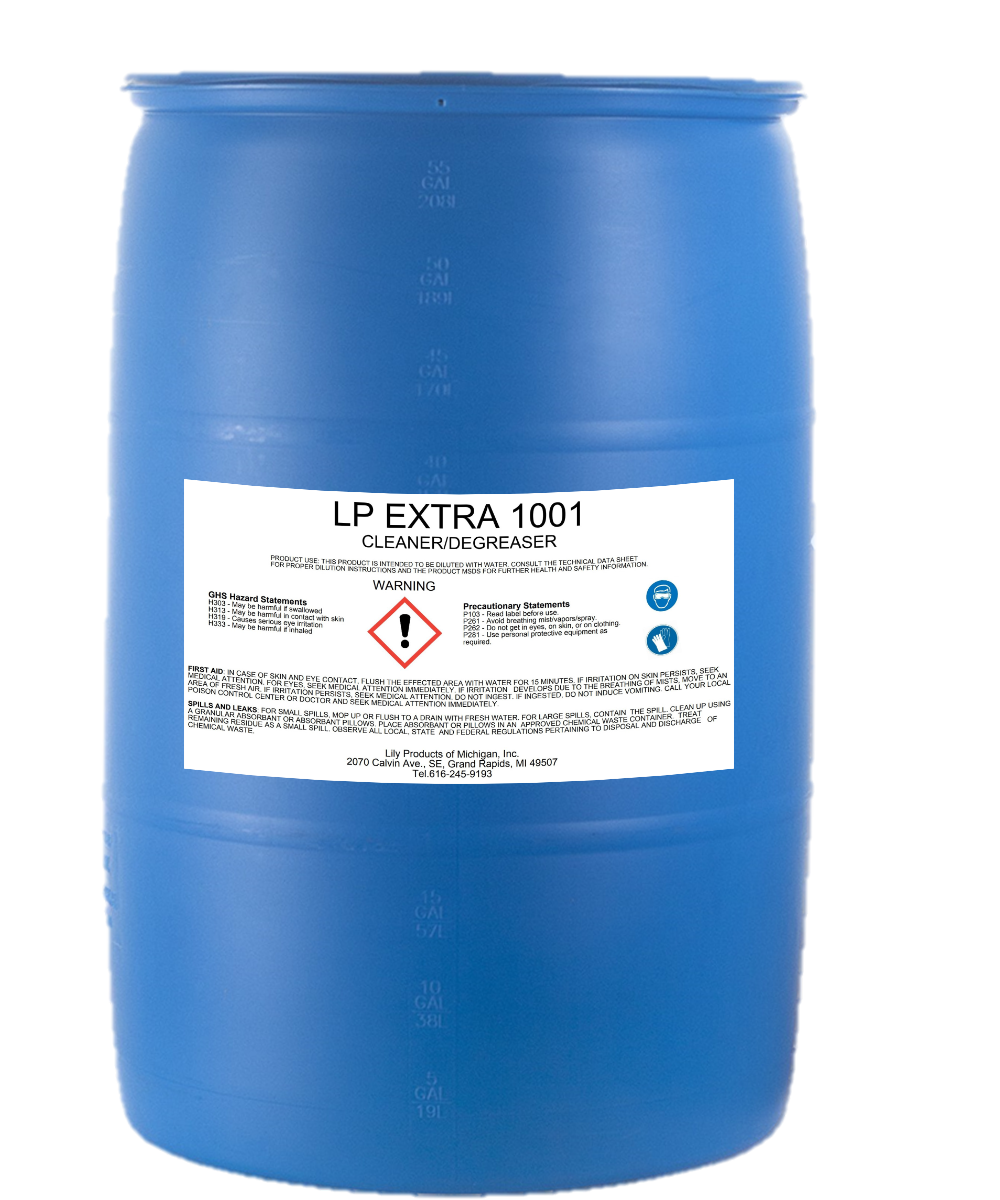
LP Extra 1001 is a powerful degreaser formulated with detergents, surfactants, and penetrants for extremely tough jobs that require extra strength.
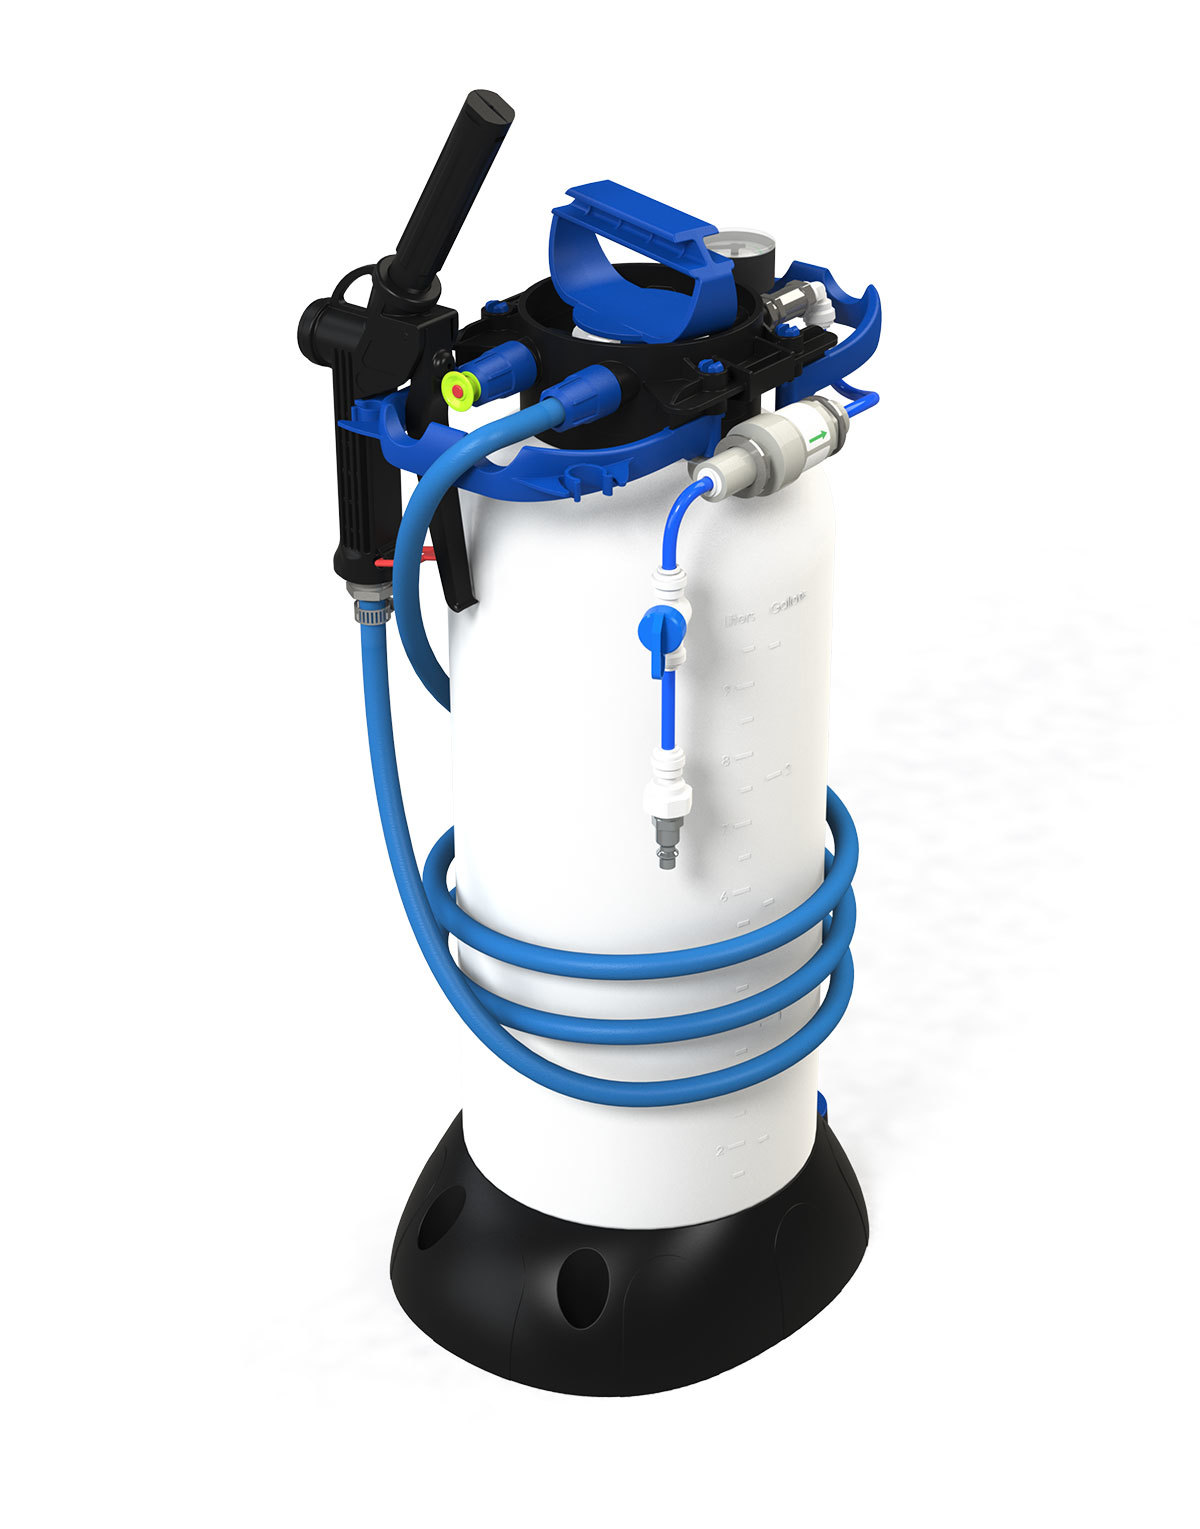
Compact foamer with manual pump perfect for small job and spot cleaning
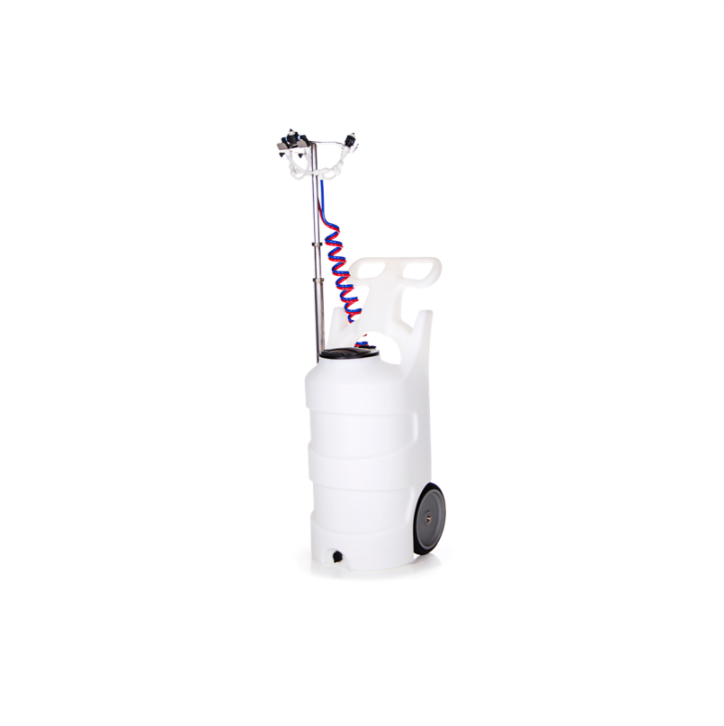
Air powered fogger/mister that draws from a pre-mixed solution to apply sanitizers in a hands-off method involving tiny droplets
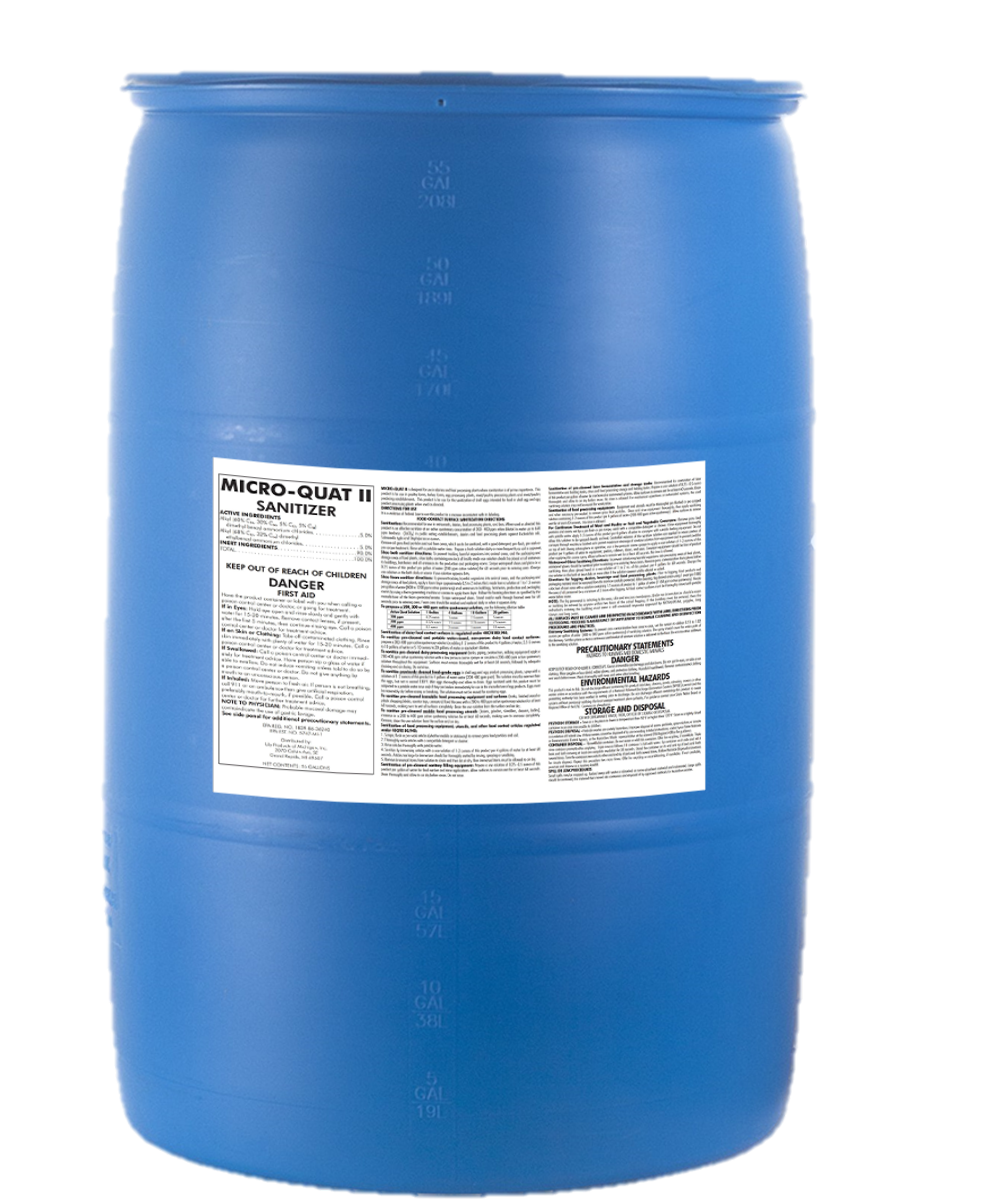
A quaternary ammonium sanitizer that's easily diluted and easy to apply. Safe for use on metals and highly effective for sanitizing.
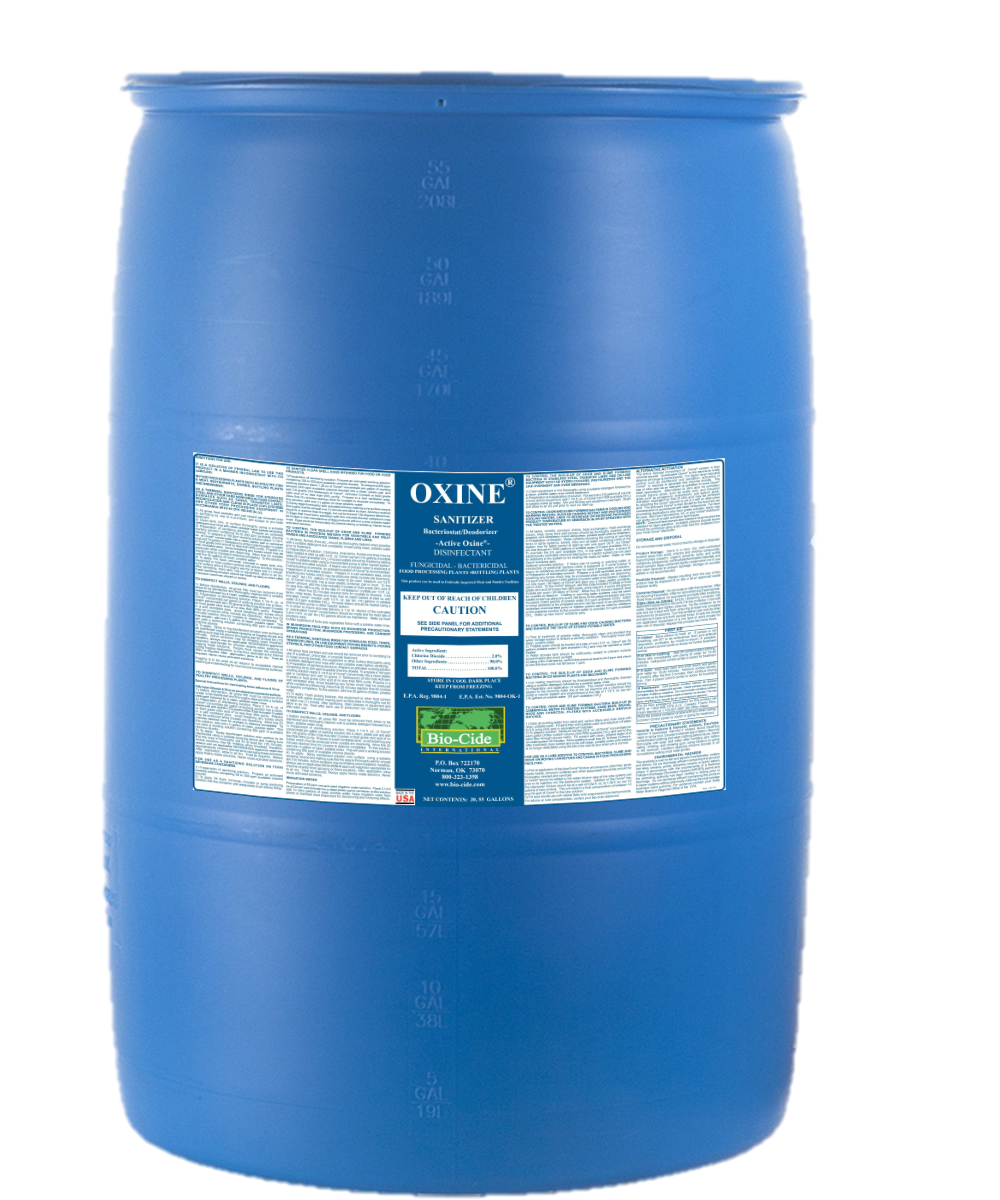
This Chlorine Dioxide Sanitizer is just what need. The oxidizing chemistry behind this product allows it to not only penetrate residues but also biofilms for complete sanitization and disinfection.